Here is how to create a spherical sculptie using a 2D curve and the leathe function. With some modification it can be adapted to cylindrical sculpties but this is left as an exercise for the reader :)
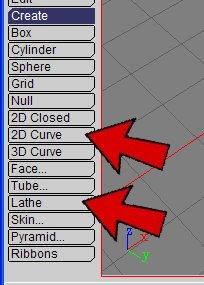
We'll make use of the "2DCurve" and the "Lathe" functions that are located in the "Create" section of the toolbox:
Click on the "2DCurve" button and you can start define the profile of your object. Click on the "Line" type on the left and define 9 control points in the parameter area on the right (it is essential to make the object work with the sculpt exporter):
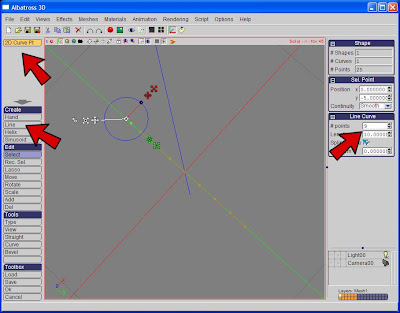
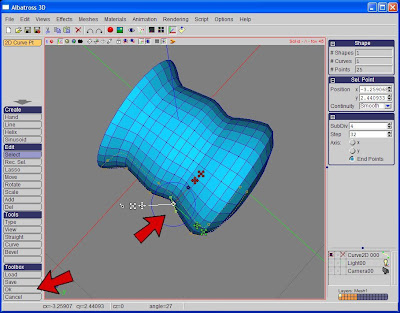
Now modify the profile at your leisure but keep the end points on the x axis. Do not cross the x axis or you will have a self intersecting model. When done press the "OK" button on the left bottom corner.
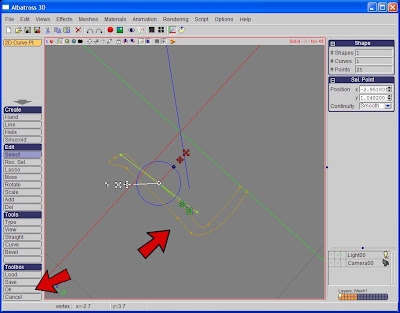
Now click on the "Lathe" button:

and you will get a 3D solid that is generated by the rotation of your profile around the x axis. Well, actually the rotation is around the two endpoints of the curve but in this example we left them on the x axis.
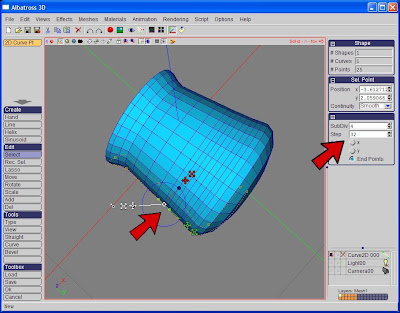
In the parameter area on the right set the proper subdivision: 4 and the number of steps: 32. Those are not magic numbers. We started with 9 control points so our profile has 8 segments, we want a 32x32 mesh so we multiply the number of segments by 4! If you had started with 17 control points here you would have multiplied by 2.
You can still adjust your profile at this time and directly see the effect on your 3D model! This is a great way to refine the control points so that faces are more evenly distributed (this is very useful when texturing!)
Click on OK when you are happy with the shape you got.
Now, unfortunately, we are not done yet! You can notice on the right that our solid has 994 vertices and this is wrong, it should have 962 vertices to be successfully exported to SL.
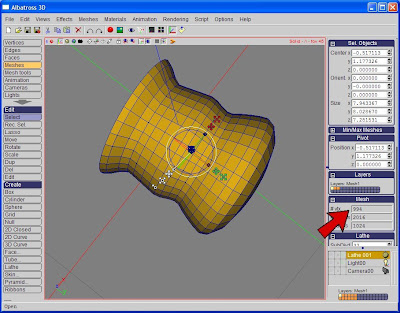
The problem is that we have one subdivision more than we should and this accounts for the 32 vertices in excess. The simplest way is to remove a loop of vertices that is "inside" the solid:
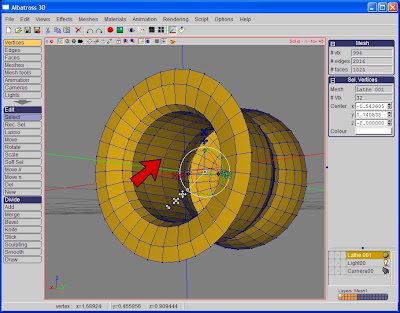
If you experience any issue while removing the verices in excess, look at my previous post for a safe way to do so.
Now that the excess vertices are gone, the solid has the right number of vertices,
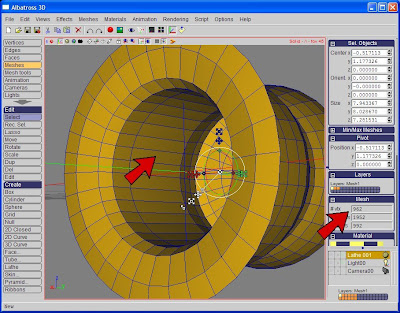
and can be exported to a sculpty map:

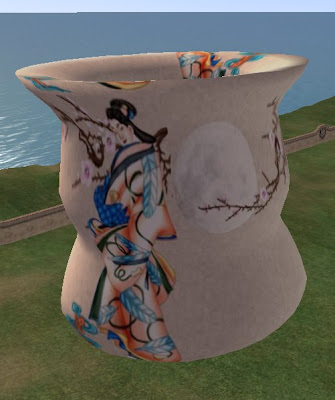
that can be imported in SL:
1 comment:
Hello !
Congratulation. Your blog is very interesting.
See you soon on the A3D forum.
A bientôt
Valenco
Post a Comment